Grilling season is close at hand, but is your grill clean enough for the heavy use that awaits it? When your grill has become a bit too grimy for use, it’s essential that you roll up your sleeves and thoroughly clean your grill to ensure great food and many a pleasant cooking session later on. It can be a simple enough task if you know exactly how to clean a grill. But in case you’re not too familiar with the workflow, here are some effective tips to help you perform a deep clean.
What you’ll need to clean your grill
The most important tools to have on hand when doing a deep clean are non-toxic soap, a putty knife, disposable sponges or a brush, gloves, and some hot water. For tougher stains, especially on a charcoal grill, get some vinegar, baking soda, and spray bottle to deliver the mixture, as well as some steel wool or a stainless steel brush to scrub with. A vacuum cleaner is ideal for gathering up any loose fragments, but you can also just tip the grill over and sweep up the bits and pieces.
Turn up the heat
The first thing you want to do is to bring your grill up to temperature. High heat will loosen up any food remnants, rust, and carbon deposits in the grill, making the rest of the cleanup process easier. Be careful when you are doing this with infrared grills or indoor grills as these are electric devices.
Simply turn the grill up to high with the grates still on and shut the hood. Remember to take out anything that won’t be able to withstand the heat. It’s better if you layer on some aluminum foil on top of the cooking grates. This makes it so that the high heat gets reflected back into the grill and thus makes it easier to reduce the dirt and grime inside into ash. Let it burn with the lid closed for about 15 minutes, or until the smoke is gone.
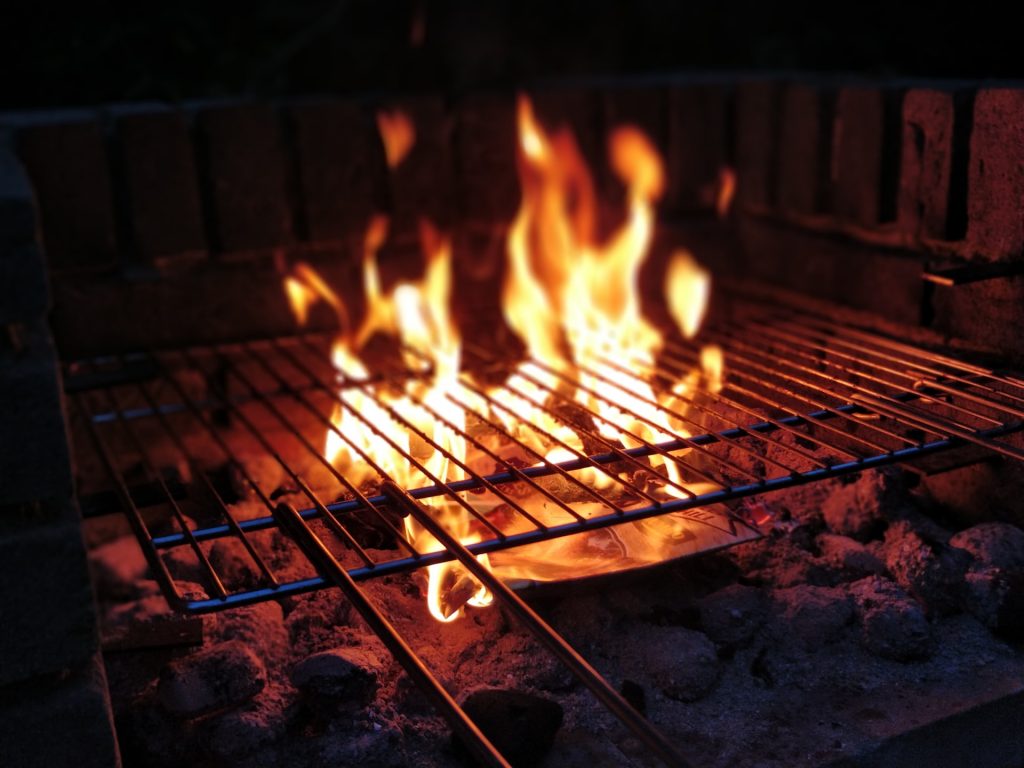
Once the grill has stopped smoking, turn down the heat, open the lid, and let it cool off for at least 30 minutes. By then, most of the grease, food bits, and other carbon will have been burned off as smoke or at least shaken off or loosened up. This will make it easier to go on with the rest of the cleaning process.
Vacuum out the burnt fragments
Once everything inside the grill has been burned to a crisp, it’s time to remove all the loose fragments. For this, the best tool is a handheld vacuum cleaner, but a regular vacuum cleaner hose will do too.
Before turning on the vacuum, remove the grill grates and all other paraphernalia that you’ve left inside. Then, scrape off any remaining stains and particles with plastic pliers, a putty knife, or other tools that are unlikely to damage your grill.
Once that’s done, start vacuuming the exposed firebox to gather up all of the loosened up debris.
Soak in soap and hot water

It’s unlikely that you’ll be able to get all of the dirt and gunk in your grill just by burning and vacuuming. Some stains are incredibly persistent. For this, we move on to the second phase: soaking.
First, let the hot grates cool, and remove the grill grates and flavorizer bars. Also take out the burner knobs, heater racks, grease containers, and other parts that can be easily removed. If your BBQ grill has adjustable tubes for the burners, try to unscrew these as well. These will all go into their own soaking container.
Soak the firebox in hot, soapy water for 20 to 30 minutes. Dish soap or degreaser soap work fine in most cases, but for particularly nasty instances, all-purpose cleaner is best for clearing the mess. Do the same for the grates and other equipment. For the grill drip pan, it may be best to soak it in elbow grease before using soap. The same goes for other greasy components.
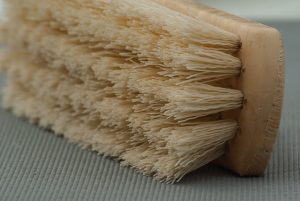
The scrubbing phase
Now comes the hard part: scrubbing. This is where the white vinegar and baking powder come in [1]. You’ll have to use this mixture to get rid of any persistent staining. Ready some steel wool or a stiff wire brush for persistent stains. If you don’t have those available, some crumpled up aluminum foil will do.
Scrubbing the interior
It’s better to start to scrub the insides of the grill while the water you used to soak is still warm. If not, you may want to add some warm water. Then start scrubbing the insides until no more stains are visible. If some stains simply won’t come off, that’s when you deploy the vinegar and baking powder. Apply this mixture liberally and rub firmly to get rid of the most stubborn stains. On the other hand, burner tubes and other sensitive components can be cleaned using the grill brush.
When you’re brushing the interior of the grill, be extra careful with wire brushes. While these can be effective tools for dealing with gunk that just won’t come off, there is a great risk of damaging the grill itself. Plus bristles are likely to come off and get stuck in places you wouldn’t want them—something you especially don’t want for gas grills. Cast iron grates can take a heavy scrubbing well enough. But there’s a small likelihood that wire brush particles might get stuck on food as you’re grilling, running the risk that someone might ingest them. You also wouldn’t want a wire brush anywhere near electric grill grates. These are best cleaned using a soft, wet brush and some damp cloth.
Rinse and wipe down
After you’ve scrubbed everything, you’d want to get rid of the weird mixture of remnant dirt, suds, dirty water, and vinegar-baking soda that lingers in your grill. Another washing with hot soapy water should take care of this. Scrub with a sponge until no visual trace of dirt and debris remains. Rinse this off with more water and wipe down with paper towel or cloth. At this phase, it’s best if you make use of a pressure washer or a garden hose to thoroughly blast the grill with water, but hot water works fine too. Do the same to get all the grates clean, as well as the other grilling equipment.
Once everything has dried, you can apply a light coating of porcelain paint to cover up any cracks that might have appeared on the grill’s polished surface.